
How to Find Studs in Plasterboard Walls (UK & AU Guide)
How to find studs in plasterboard: the short answer
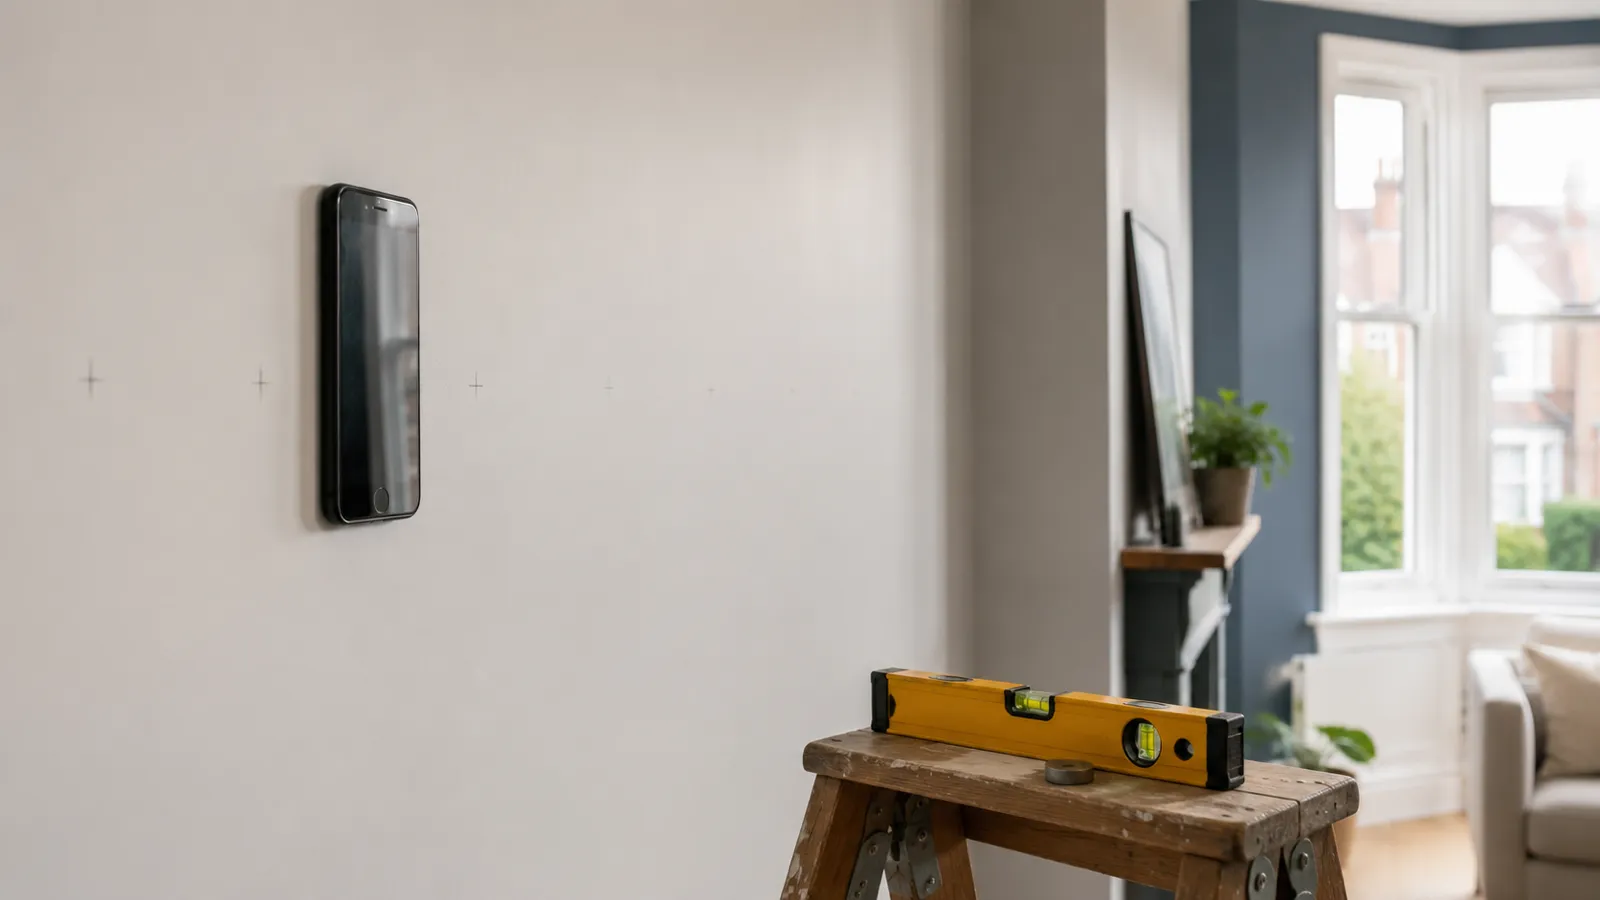
You don’t find the timber — you find the screws holding the plasterboard to it. Every timber stud behind a plasterboard wall carries a vertical line of steel screws at roughly 300mm (12 in) intervals, and steel is easy to detect: a magnetometer app on your phone or a strong magnet will spike over each one. Find two or three screws stacked vertically and you’ve found the stud. Studs in UK and Australian stud walls sit at 400mm (16 in) or 600mm (24 in) centres, so once you’ve confirmed one, a tape measure predicts the rest.
That’s the whole method for a standard stud wall. The rest of this guide covers the part US “drywall” guides skip: British and Australian homes are full of walls that look like stud walls and aren’t — dot and dab, lath and plaster, metal C-stud partitions — and each one changes both the search and the fixing.
Finding timber behind plasterboard: what a stud wall actually looks like
A modern stud wall is a timber frame — vertical studs running floor to ceiling, typically at 400mm or 600mm centres — with plasterboard (usually 12.5mm, about 1/2 in) screwed to its face. The framer drives plasterboard screws up each stud roughly every 300mm, sometimes tighter at board edges. That screw pattern is the signature you’re hunting.
A stud finder app works by reading your phone’s magnetometer. Be clear about what that means: the app detects the metal fasteners — the steel screws in the stud — not the timber itself. Wood is magnetically invisible. So the search looks like this:
- Sweep horizontally at a comfortable height until the reading spikes. That’s a screw.
- Sweep vertically through that spot. More spikes at ~300mm intervals confirm a screw line — that’s your stud, not a stray nail or pipe clip.
- Mark the centre. Screws go into the middle of a 38–45mm wide stud, so the screw line is close to stud centre.
- Measure 400mm and 600mm each way and repeat to confirm the neighbours. Whichever spacing repeats is your wall’s rhythm.
A single spike on its own proves nothing — it could be a cable clip, a pipe bracket, or one odd nail. The vertical line is the proof. The same screw-line logic works overhead too; see how to find ceiling joists for the ceiling version.
Not every wall is a stud wall: dot and dab, and lath and plaster
This is where UK and AU walls part ways with the American guides. Before you go hunting studs, work out whether there are any.
Dot and dab: there are no studs
Huge numbers of UK homes — especially post-1980s builds and refurbished solid-wall houses — have dot and dab walls: plasterboard stuck directly onto brick or blockwork with dabs of adhesive. There is no timber frame. No studs, no screw lines, nothing for a magnet or an app to find — and that’s the correct result, not a failed scan.
How to tell you’re on dot and dab:
- The knock sounds dull and solid, not the hollow drum of a stud wall — though it can sound slightly hollow between adhesive dabs.
- It’s an external wall or a party wall. Internal partitions are usually studwork; the walls to outside or to the neighbours are usually masonry behind board.
- A magnet finds nothing anywhere on the wall. Glued board has no fixings to detect.
Fixings on dot and dab are a different job entirely: you drill through the plasterboard and the 10–25mm adhesive gap into the masonry, and use long masonry anchors or specialist dot-and-dab fixings — never plain plasterboard plugs, and no stud-hunting required.
Lath and plaster: the older-home problem
Pre-1950s UK homes often have lath and plaster instead of plasterboard: thin timber laths nailed across the studs, coated in hand-applied plaster. There are studs back there, but hundreds of small lath nails flood a magnetometer, so the app reads spikes everywhere and pinpoints nothing cleanly. On these walls, magnetic methods are a rough guide at best — the full workaround is in our stud finder for plaster walls guide.
Metal C-stud partitions in flats
Many flats and newer commercial-to-residential conversions use metal stud partitions: galvanised steel C-section studs instead of timber, boarded exactly like a timber stud wall. The good news is they’re even easier to detect — the entire stud is steel.
The signal tells you which you’ve got:
- Timber stud: discrete spikes at ~300mm vertical intervals — you’re reading individual screws with quiet wall between them.
- Metal C-stud: a continuous strong reading along the whole vertical line — you’re reading the stud itself, top to bottom.
That distinction matters for fixings. A wood screw bites happily into timber, but a metal C-stud is thin steel: use self-drilling metal-stud fixings or proper cavity anchors rated for the load, and don’t expect a 50mm-deep timber-style fixing to hold. For heavy loads on metal stud walls, spread the weight across two studs or use a mounting board.
Noggins and battens: the horizontal timbers
Not every timber behind plasterboard is a stud. Two others show up in a scan:
- Noggins — short horizontal blocks fixed between studs to stiffen the frame, often around mid-height. If you find screws running horizontally between two vertical screw lines, that’s a noggin. It’s solid timber and will happily take a fixing, but don’t mistake it for a stud and expect more timber directly above or below.
- Battens — horizontal or vertical timbers fixed to a masonry wall, with plasterboard screwed to them (the older cousin of dot and dab). A battened wall gives you real screw lines to find, but the timber is shallow — typically 25–50mm — with masonry right behind, so drill depth matters.
The practical rule: a vertical screw line at a repeating 400mm/600mm spacing is a stud; anything else is worth a second look before you commit a heavy fixing to it.
Magnet method and hardware stud wall finders
You don’t need a phone for the magnet trick: a strong magnet from any hardware shop, dragged slowly across the wall, will physically snap toward each plasterboard screw. Dangle it from a length of thread and you’ll feel and see the pull. It’s the same fastener-detection principle as the app — free, unpowered, and slower, since you’re feeling for screws rather than watching a live reading.
If you’d rather buy a dedicated stud wall finder, every B&Q, Screwfix, and Bunnings shelf carries the same three families:
| Type | How it works | Plasterboard stud wall | Dot and dab | Metal C-stud |
|---|---|---|---|---|
| Magnetic finder | Snaps to screws | Good | Nothing to find | Good |
| Electronic (density) finder | Senses density change through board | Good, needs calibration | Confused readings | Good |
| Magnetometer phone app | Reads screws via phone sensor | Good | Correctly finds nothing | Good — continuous signal |
Electronic finders sense the density change at a stud rather than the screws, which makes them the one tool that can also trace battens and noggins without fasteners nearby — but they need calibrating on a hollow section and give nonsense on dot and dab, where the whole wall is “solid”. For the common case — a screwed plasterboard wall — the app and a £5-ish magnet find exactly the same screws the £30 gadget does.
The bottom line
Finding studs in plasterboard is really three questions in order. Is this a stud wall at all? Knock: hollow drum means studwork, dull thud on an external or party wall means dot and dab and masonry fixings instead. Where are the fasteners? A magnetometer app or a magnet finds the plasterboard screws; a vertical line of them at ~300mm steps is a stud. Does the spacing repeat? Confirm neighbours at 400mm or 600mm centres and you’ve mapped the wall — enough to hang a TV, shelf, or radiator on solid timber rather than hopeful plasterboard.
For the phone-based version of all this, try the free stud finder app — free to try, ad-free, no signup to start.
Frequently asked questions
Why Can't I Find a Stud? 7 Reasons and What to Do
Stud finder not working? Seven wall types and mistakes that hide studs — plaster, metal framing, glued board — and the test that settles it in minutes.
Is It Safe to Drill Into This Wall? Wires, Pipes & Studs
How to know where not to drill in a wall: outlet zones, wet-wall pipes, and a stud-first workflow that keeps your bit off live wires. Check before drilling.
See behind the wall,
now in your pocket.
Stud Finder turns your phone into a precision wall scanner. Know where the studs, screws and pipes are before you drill.
Download the App