
Is It Safe to Drill Into This Wall? Wires, Pipes & Studs
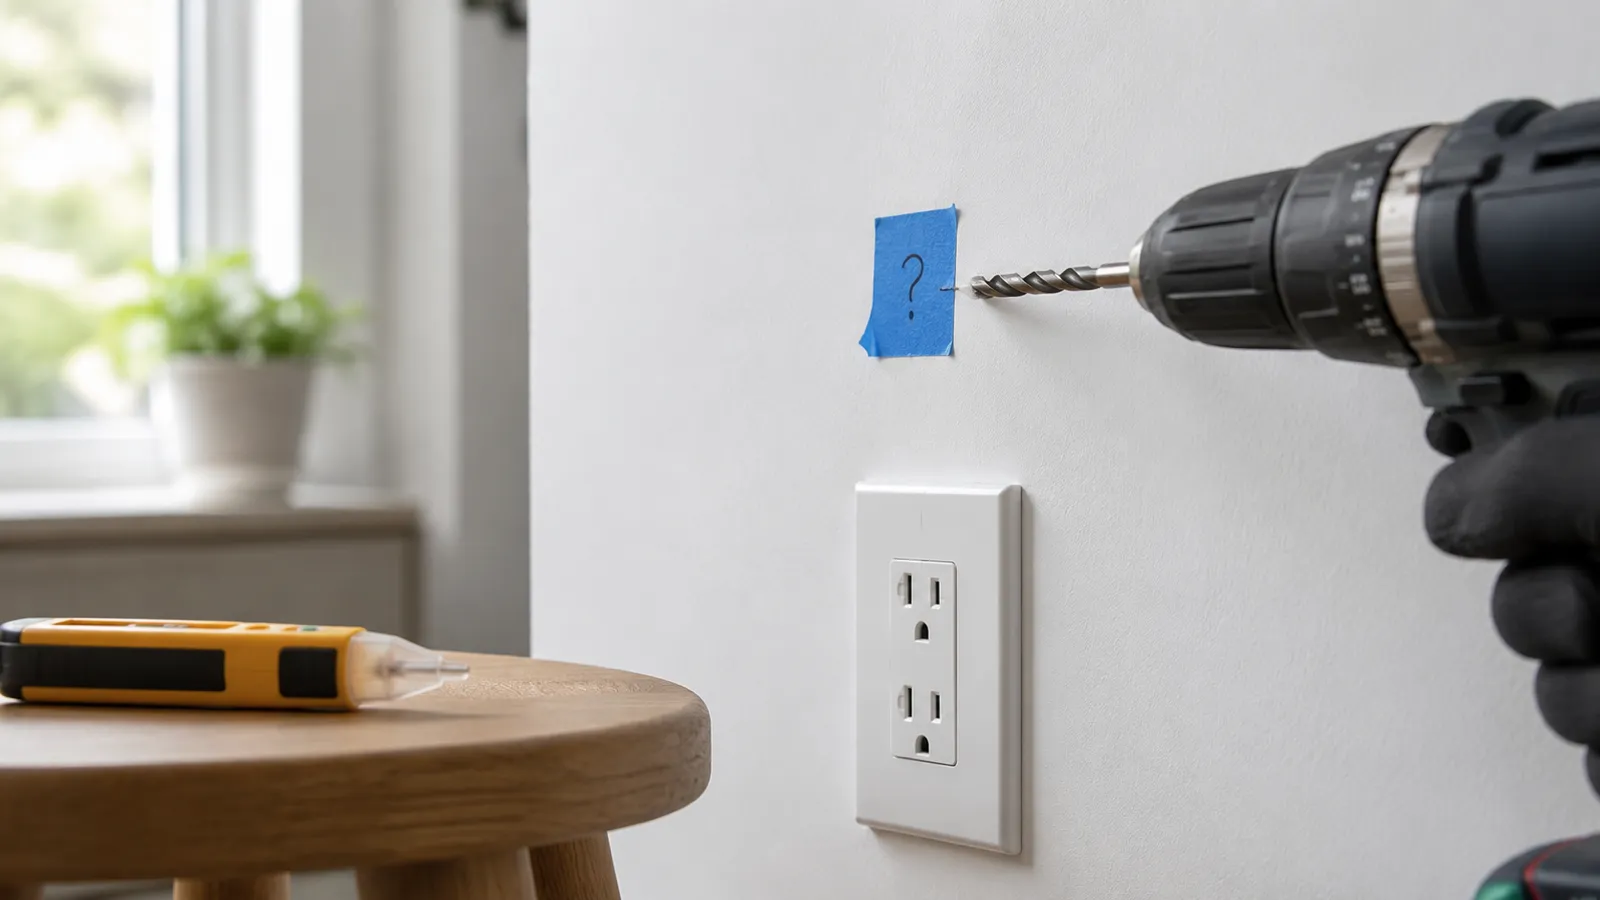
Is it safe to drill into this wall?
Usually yes — if you check three things first. One: is the spot in a known danger zone (near an outlet, a bathroom, the electrical panel)? Two: are you drilling into a stud or into open cavity? Three: does a voltage check come up clean? Pass all three and a normal screw-depth hole is about as low-risk as DIY gets.
The reason this works is that walls aren’t random. Electricians and plumbers route wires and pipes along predictable paths, and building code pushes them away from exactly the places you screw into. Danger isn’t spread evenly through the wall — it’s concentrated in a few zones you can learn in two minutes. The rest of this post maps those zones, then gives you the stud-first workflow that keeps you out of them.
Where not to drill: the danger zones
Before any tool comes out, look at what’s on — and behind — the wall. Skip these areas or treat them as verify-first zones:
- Directly above or below any outlet or switch. Cables drop down from the ceiling or rise from the floor into each box, so the vertical strip through every outlet and switch is the single most likely place to hit a live wire.
- Horizontally between outlets at the same height. Wires also run sideways from box to box, roughly at outlet level. The band connecting two outlets on the same wall is live territory.
- Above and below light fixtures and wall sconces. Same rule as outlets — the fixture’s cable comes from somewhere, usually straight up or down.
- Either side of sinks, toilets, showers, and tubs — including the other side of the wall. Supply lines and drain stacks follow the fixtures. The wall behind a shower valve or a toilet is full of pipe, and that’s true from both rooms sharing the wall.
- Anywhere near the electrical panel. The wall above and around a breaker panel is where every circuit in the house converges. Give it a wide berth.
- Radiant-heated walls and floors. If a wall or floor has hydronic or electric radiant heat, the tubing or element runs everywhere, not in tidy lines. Don’t drill these at all without the installer’s layout drawings.
- Near gas appliances. Homes plumbed with CSST — the yellow corrugated stainless gas line — may have it running through walls near furnaces, water heaters, ranges, and fireplaces. Puncturing a gas line is the worst outcome on this list; treat those walls as no-drill until you’ve confirmed the routing.
None of this means those walls can never take a screw. It means those spots get the full check — voltage tester, careful stud location, shallow pilot — instead of a quick scan and a full-depth hole.
How wires and pipes actually run inside a wall
Knowing the routing logic turns the checklist above from rules to memorize into things that are obvious.
Wires follow the boxes. A cable enters the stud bay from the top plate or bottom plate, runs vertically to the outlet or switch box, and may continue horizontally to the next box. That’s why the danger zones are crosses centered on every outlet: a vertical strip plus a horizontal band at box height.
Code protects the studs. The National Electrical Code requires that a cable bored through a stud sit at least 1-1/4″ back from the stud face — or be shielded by a steel nail plate where it can’t. The whole point of that rule is to protect the cable from your screw. A standard drywall screw or TV-mount lag reaching into the first inch of a stud stays in solid wood; a cable at proper depth is beyond it, and a cable that isn’t should have steel armor in front of it. That’s why drilling into the center of a stud is the safest move in the whole wall.
Pipes follow the water. Plumbing clusters where the fixtures are: kitchens, bathrooms, laundry, water heater. Supply lines rise to each fixture; drains and vents run in the “wet wall” behind sinks and toilets. A bedroom wall with no fixtures on either side almost never has a pipe in it. The wall between a bathroom and the hallway very often does.
Nothing here protects the open cavity. The setback rule applies at studs. In the open bay between studs, a cable can be stapled anywhere along its run — which is one more reason your fastener wants to land in wood, not air.
What your tools can and can’t detect
This is where people get hurt by overtrusting one tool. Here’s the honest matrix for anyone trying to check for pipes and wires in a wall:
| Tool | Studs | Live wires | Copper pipe | PEX (plastic) pipe |
|---|---|---|---|---|
| Magnetometer stud finder app | Yes — via metal fasteners | No | Not reliably | No |
| Non-contact voltage tester | No | Yes — energized cables near the surface | No | No |
| Electronic finder with AC detection | Yes | Approximate warning | No | No |
| RF imaging scanner (Walabot-type) | Yes | Yes | Yes | Partially |
| Small inspection hole | Confirms everything | Yes | Yes | Yes |
Read the first row carefully, because it’s our own product’s row. A stud finder app uses your phone’s magnetometer to find the steel screws and nails holding drywall to the studs — that’s the entire mechanism, and it’s genuinely good at that one job (how does a stud finder work explains why). It does not detect live electrical wires. It does not see PEX, which is plastic and magnetically invisible. It won’t reliably find copper pipe either, because copper isn’t ferromagnetic. If an app — ours or anyone’s — twitches near a pipe, that’s the strapping or a nearby fastener, not pipe detection you can trust.
So the app answers “where is the stud?” and nothing else. For “is there a live wire here?” you need an actual wire detector: a $10–20 non-contact voltage tester, or a wall scanner with AC detection. For “is there a pipe here?” you need an imaging tool, the fixture-logic from the previous section, or a look inside the wall. For gas lines, don’t guess at all.
The safe drilling workflow
Here’s the sequence for any hole, in order:
- Check the zones. Look for outlets, switches, and fixtures near your spot, and think about what’s on the other side of the wall. If you’re in a cross-zone or a wet wall, either move the hole a few inches or commit to the full check.
- Find the stud. Sweep the wall and mark the fastener line — this is where you download the app or grab a hardware finder. Aim your hole at the center of the stud: code setback and nail plates make stud center the most protected spot available. (Drilling overhead instead? The same logic applies to how to find ceiling joists.)
- Check for voltage. Run a non-contact voltage tester over the exact spot and a few inches around it. It flags energized cables close to the surface — cheap insurance that the app cannot provide.
- Drill a shallow pilot. Use a 1/16″ bit and go just past the drywall — about 3/4″. Wood shavings mean you’re in the stud and good to continue. Powder then nothing means open cavity: re-scan before going deeper.
- Stop if anything feels wrong. A sudden give, a metallic scrape, or unexpected hard resistance means stop immediately. That can be a nail plate doing its job, a pipe, or conduit. Back out and reassess — never power through.
- Only drill as deep as the job needs. A picture hook needs the drywall; a TV lag needs 2.5–3″ of stud. Don’t send a long bit to full depth “just in case” — depth you don’t need is risk you don’t need.
And the honest escape hatch: when you can’t get confident — wet wall, panel wall, suspected CSST, radiant heat — cut a small inspection hole where your fastener will go, look inside with a flashlight, and patch it afterward. A 1″ hole and ten minutes of spackle beat a punctured pipe every time. If the wall involves gas or you’re still unsure, hire a pro; that’s not overkill, it’s what the pros themselves do when the stakes are pipes and wires.
The bottom line
It’s safe to drill into a wall when you’ve stacked the odds: stay out of the strips above, below, and between outlets and fixtures, stay away from wet walls and the panel, land your bit in the center of a stud where code keeps cables set back or plated, confirm with a voltage tester, and open with a shallow pilot. A stud finder app gets you step two — the stud — quickly and for free, and it’s honest to say that’s all it gets you. Pair it with a voltage tester and the routing logic above, and the everyday hole for a shelf or a TV mount becomes a two-minute check instead of a gamble.
Frequently asked questions
Why Can't I Find a Stud? 7 Reasons and What to Do
Stud finder not working? Seven wall types and mistakes that hide studs — plaster, metal framing, glued board — and the test that settles it in minutes.
How to Find Studs in Plasterboard Walls (UK & AU Guide)
Find timber behind plasterboard with your phone, a magnet, or a stud wall finder — and how to spot a dot and dab wall before you drill into nothing.
See behind the wall,
now in your pocket.
Stud Finder turns your phone into a precision wall scanner. Know where the studs, screws and pipes are before you drill.
Download the App