How to Find Studs Without a Stud Finder: 7 Ways That Work
The fastest way: start at an outlet
Electrical boxes are nailed directly to the side of a stud — code requires the box to be anchored, and the stud is what it anchors to. Find any outlet or light switch on the wall you’re working on and you’ve found a stud, give or take an inch and a half.
Which side? Knock immediately left and right of the outlet. The solid side is the stud side. From that confirmed stud, measure in 16-inch steps in either direction — in most US homes, that lands you on every other stud in the wall, because residential framing puts studs on 16-inch centers per IRC §R602.3.1. Some newer and prefabricated construction uses 24-inch centers; if 16 doesn’t repeat, try 24.
That’s the whole strategy in two moves: one confirmed anchor point, then arithmetic. Everything below is a way to confirm — because spacing assumptions break near doors, windows, and corners, and “probably a stud” is not a number you want to hang a TV on.
All 7 methods, compared
| Method | Time | Reliability | What you need |
|---|---|---|---|
| Outlet + 16-inch measuring | 2 min | High as a starting point | Tape measure |
| Knock test | 2 min | Medium — wall-dependent | Your knuckles |
| Phone magnetometer (app) | 1–2 min | High on drywall | The phone in your pocket |
| Strong magnet | 5–10 min | High, but slow | Neodymium magnet |
| Baseboard and trim nails | 3 min | Medium | Flashlight |
| Raking light on the surface | 3 min | Low–medium | Flashlight at night |
| Pilot hole (last resort) | 5 min | Definitive | Drill, 1/16″ bit, spackle |
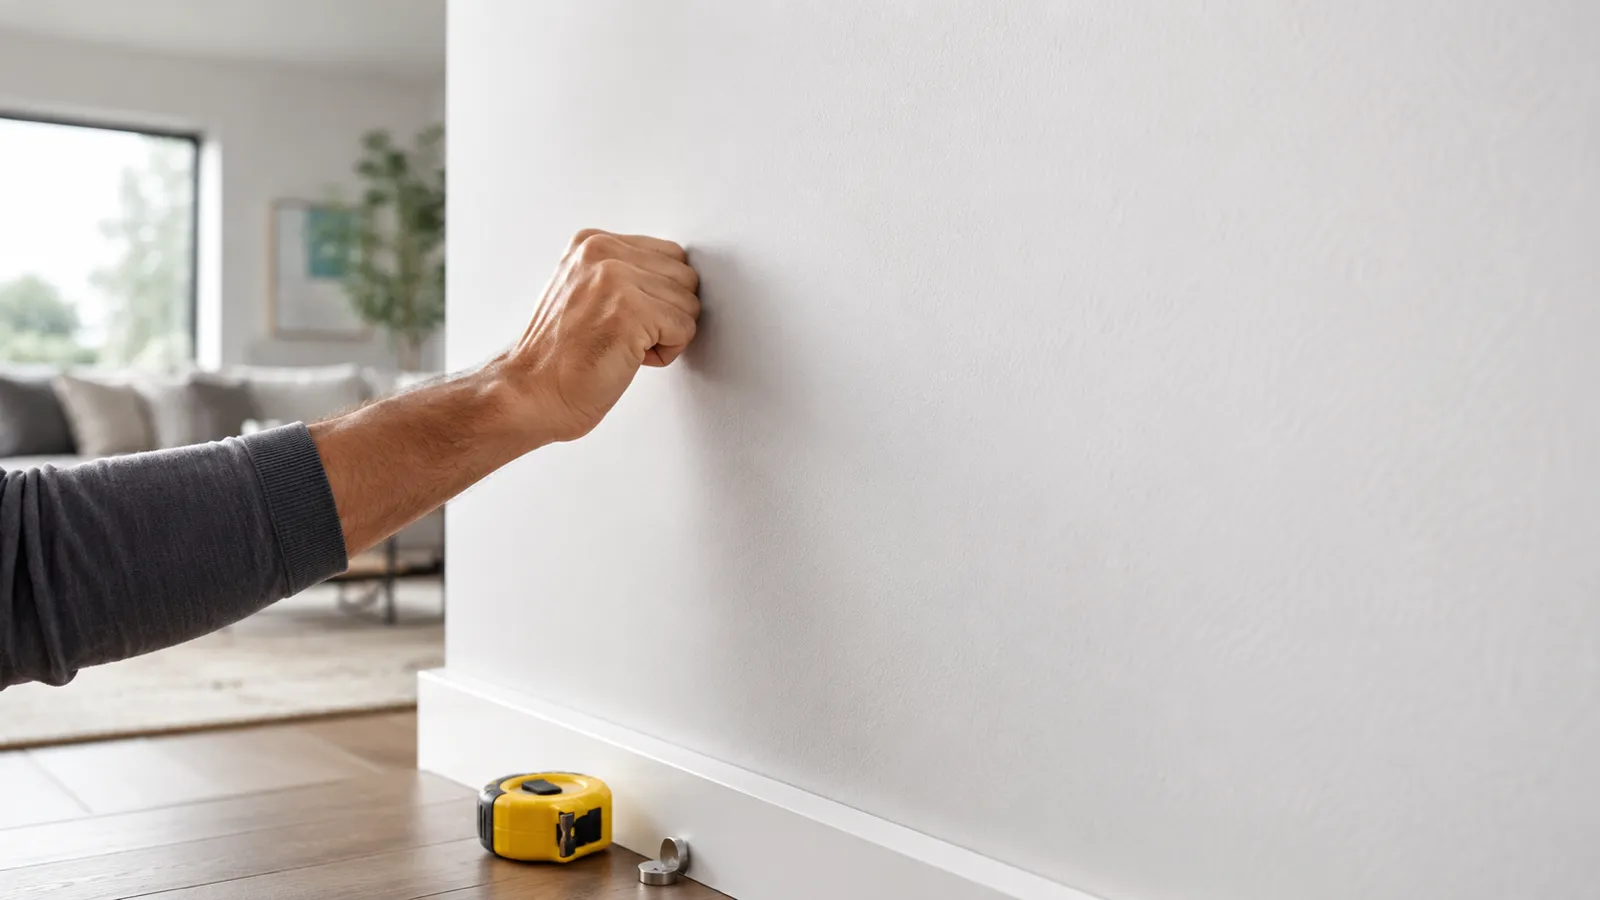
Method 1: The knock test
Knock firmly with a knuckle, moving horizontally a couple of inches at a time. Over a cavity the wall sounds hollow and low; over a stud the sound tightens into a dull thud and your knuckle feels more resistance. Sweep the full width once to calibrate your ear — the contrast is easier to hear in motion than in isolation.
Honest limits: the knock test gets muffled by 5/8-inch drywall, double-layer fire-rated walls, and plaster. It narrows things down to a few inches but won’t give you the stud’s center — pair it with a magnet or a measuring confirmation before drilling.
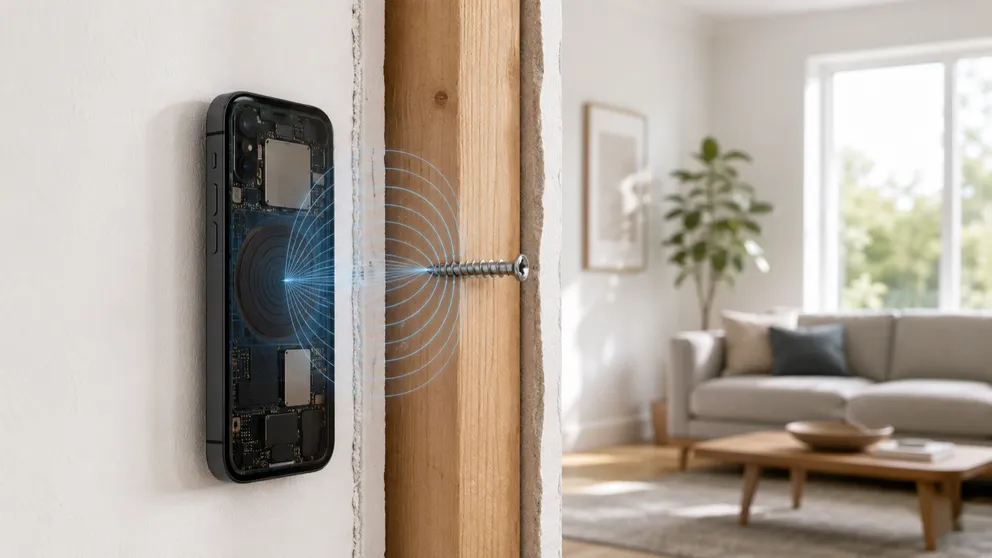
Method 2: Read the screws with your phone
Drywall is fastened to every stud with steel screws or nails every 8 to 16 inches up the stud’s length. Each one is a small magnetic marker sitting half an inch under the paint. Your phone’s magnetometer — the compass sensor — picks those markers up as sharp spikes above Earth’s ambient 25–65 microtesla field (NOAA World Magnetic Model).
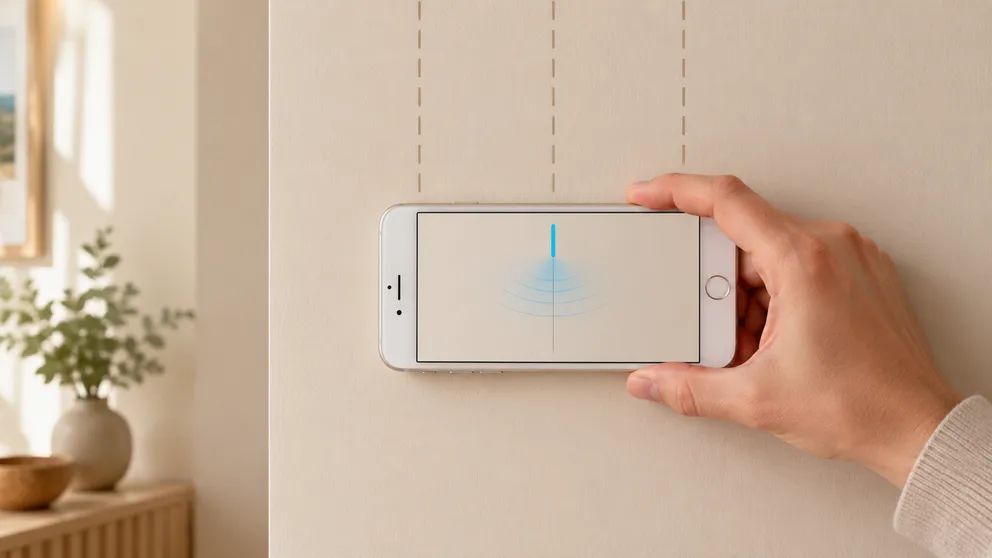
A stud finder app reads that sensor live: hold the phone flat against the wall, sweep slowly, and watch the signal spike as you cross a fastener. Two spikes stacked vertically is a stud. On standard drywall this locates the center to within about an inch — the same precision as a hardware finder, with zero hardware. The full walkthrough is in how to find a stud with your iPhone, and it works the same way on Android.
This is the method that replaces the gadget, not just avoids it — you get an actual reading instead of an inference.
Method 3: The magnet trick
A strong magnet — neodymium ideally, a fridge magnet only if it’s a strong one — sticks to the same drywall screws the phone detects. Tie it to a string or slide it flat against the wall in a slow S-pattern. When it grabs, you’ve found a fastener, and the stud is directly behind it.
It genuinely works; it’s the manual version of the magnetometer method. The trade-off is speed and feedback: the magnet tells you nothing until it’s nearly on top of a screw, so covering a wall takes patience. Mark every grab point — three in a vertical line is a confirmed stud.
Method 4: Follow the baseboard nails
Baseboards are nailed into studs, because there’s nothing else behind them to nail into. Run a flashlight along the baseboard and look for filled nail holes — slight dimples in the paint, usually in a repeating rhythm. Each one marks a stud. Crown molding and chair rails follow the same rule.
This method shines in rooms where outlets are scarce, and it gives you multiple reference points across the wall at once.
Method 5: Raking light across the surface
At night, hold a flashlight almost flat against the wall and look down its beam. Drywall sheets meet on studs, and the taped seams, fastener dimples, and slight crowning over each stud catch the angled light as faint vertical shadows. Painters know every wall tells on itself this way.
It’s the least reliable method on a well-finished wall — a good taping job hides everything — but on builder-grade finishes it can map half the wall in a minute, for free.
Method 6: Measure from a corner
No outlet nearby? Start from a corner. Framing starts and ends at corners, so measure 16 inches out and test there (knock, magnet, or phone), then continue in 16-inch steps. Remember the first stud bay off a corner is often narrower than 16 inches — the sheet edges, not the corner itself, define the rhythm. Treat the measurement as a hypothesis and confirm each position before drilling.
Method 7: The pilot hole, when you must be sure
For a heavy mount where nothing else convinced you: drill a 1/16-inch pilot hole where you believe the stud is, angled slightly. Wood shavings on the bit means stud; the bit punching into air means cavity. Probe left or right an inch at a time until you hit wood, then patch the misses with spackle — a 1/16-inch hole disappears under one thumb-swipe.
It’s the only method on this list that’s destructive, which is why it’s last. But it’s also the only one that’s definitive on plaster, double drywall, and other walls that defeat acoustics and magnets.
What doesn’t work — and when to buy the gadget after all
Two honest caveats. First, lath-and-plaster walls (common pre-1950) resist almost everything here: the knock test is muted, and the lath is nailed every few inches, so magnets and magnetometers find nails everywhere instead of in tidy stud lines. Pilot holes or a deep-scan hardware finder are the realistic options — more in do stud finder apps work.
Second, heavy mounts deserve two opinions. For anything over about 30 lb (14 kg) — a large TV, a loaded shelf, a wall cabinet — confirm the stud with two independent methods before drilling, whichever two you choose. Finding the stud is free; missing it costs a drywall patch and a Saturday.
For everything else — pictures, shelves, curtain rods, most TV brackets — the methods above cover you without spending a dollar. The fastest combination is outlet + phone: one gives you the anchor point, the other gives you a live reading you can verify yourself.
Frequently asked questions
How the iPhone Stud Finder Works (The Magnetometer Explained)
What's actually happening when a stud finder app detects a wall stud? Here's the sensor, the signal, and the physics behind the iPhone stud finder — in plain terms.
How to Find a Stud With Your iPhone (Without Buying Anything)
Your iPhone has a magnetometer built in — the same sensor a stud finder app reads. Here's how to find a stud with just your phone, step by step.
See behind the wall,
now in your pocket.
Stud Finder turns your phone into a precision wall scanner. Know where the studs, screws and pipes are before you drill.
Download the App