
Do Stud Finder Apps Work — and How Accurate Are They?
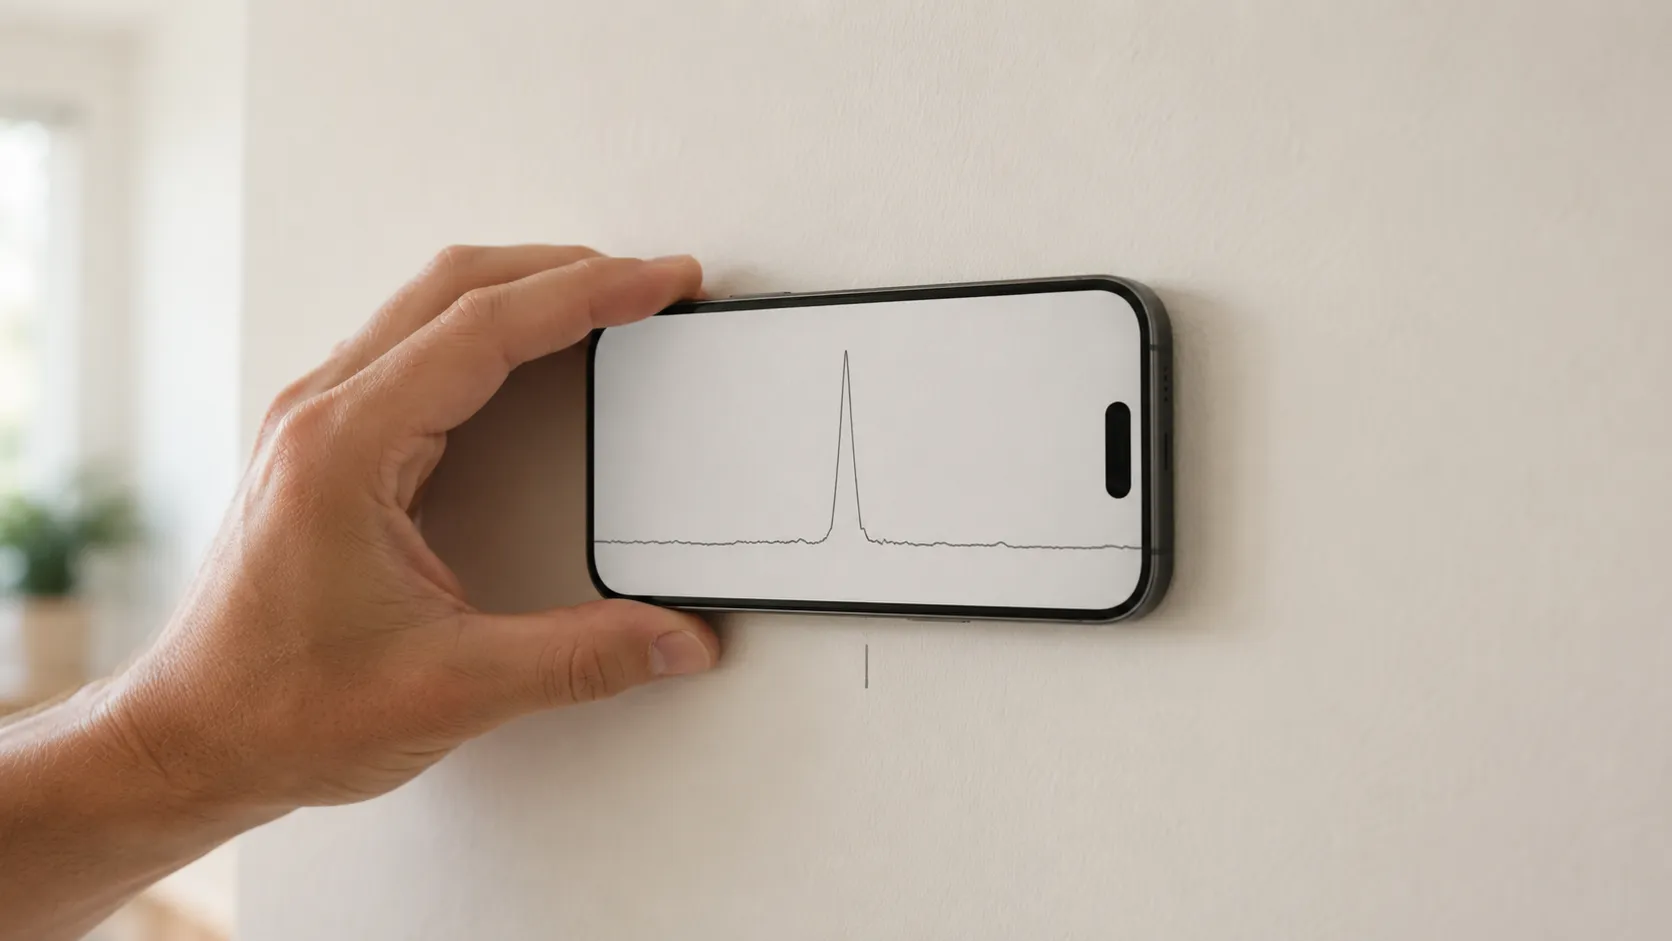
The short answer: yes, on the right wall
A stud finder app works by reading your iPhone’s magnetometer — the same sensor that powers the Compass app, exposed to developers via Apple’s Core Motion framework. As you sweep the phone flat across drywall, the magnetometer picks up tiny disturbances above Earth’s 25–65 μT ambient magnetic field caused by the steel screws and nails driven into each stud.
Find the fasteners and you’ve found the stud. That’s the whole mechanism. On a typical 1/2-inch drywall wall over 16-inch-center wood framing — the construction style most North American homes built post-1960 use — the app gets the stud center to within roughly an inch.
That’s enough for almost everything a homeowner mounts: shelves, picture frames, curtain rods, towel bars, mirrors, and most TV brackets. The lag bolts in a TV mount are forgiving by design; an inch of error doesn’t move them off a 1.5-inch-wide stud.
Why the question keeps coming up
“Do stud finder apps work?” is a fair question because the App Store has a long tail of bad ones — apps that show a fake graph regardless of what the phone is doing, or apps that don’t actually read the magnetometer at all. If you’ve used one of those, you’d correctly conclude that stud finder apps don’t work.
A real one does. The way to tell the difference in 30 seconds:
- Open the app and hold the phone still in the air.
- The signal should sit close to flat — small wobble, no spikes.
- Now hold the phone next to a metal object (a doorknob, a kitchen knife, anything ferrous).
- The signal should jump dramatically.
If the app passes that test, it’s reading the magnetometer. If it doesn’t react to a literal piece of metal six inches away, it isn’t.
Where stud finder apps work well
The walls these apps are built for:
- 1/2-inch or 5/8-inch drywall screwed or nailed to wood studs
- Wood framing on 16-inch centers (most US/Canada residential post-1960, per IRC §R602.3.1)
- 24-inch centers in some newer builds and prefabricated homes
- Engineered framing like LVL beams or I-joists — the fasteners are still ferrous
- Multi-layer drywall in fire-rated walls — slight signal attenuation but still readable
If your home matches any of these, the app will find your studs.
Where stud finder apps don’t work
Equally honest about the failure modes:
| Wall type | Why the app fails | What to do instead |
|---|---|---|
| Plaster over wood lath | Lath nails flood the signal | Probe + small pilot hole |
| Metal stud framing | Whole wall reads magnetic | Capacitive finder with metal-stud mode |
| Concrete, brick, masonry | No studs to find | Masonry anchors |
| Tiled walls | Tile + thinset add distance and noise | Probe through grout, or scan from the other side |
| Walls with heavy ductwork | Steel ducts dominate the field | Avoid that section, scan elsewhere |
These aren’t app failures. They’re the magnetometer telling you honestly that the underlying signal isn’t clean. A good app will look noisy or dead on these walls — that’s it being correct, not broken.
How accurate are they, exactly?
When people ask “is it accurate?” they’re usually conflating three different questions:
- Did it find a stud at all? (Detection accuracy.) Essentially 100% on standard drywall — fasteners are too magnetic to miss.
- Is the position it gives me actually the stud center? (Position accuracy.) The inch-or-so figure above. A drywall screw perturbs Earth’s field by a few μT at scanning distance — well above the iPhone magnetometer’s noise floor of roughly 0.1–0.3 μT — so the spike lands where the screw is.
- Is it calling a stud where there isn’t one? (False positive rate.) Near zero once you adopt the two-sweep workflow: a single isolated spike is suspect, two spikes on a vertical line is a stud.
An inch of error is plenty for any mount whose lag bolts land on a stud that’s at least 1.5 inches wide. It’s not enough when a half inch matters — a heavy stone tile rail, say. For those, verify with a hardware finder and a pilot hole.
A few habits keep every reading at the good end of that range:
- Always calibrate. Takes one second, away from the wall. Skipping it is the single most common cause of bad readings.
- Take the phone case off. Especially anything MagSafe-related — a case magnet saturates the sensor.
- Sweep slowly. About 2 inches per second; the bottleneck is your eyes reading the graph, not the sensor.
- Stay 6 inches clear of outlets and switches. Each one corrupts the field around it.
- Mark with a pencil, not your eye. A dash under the phone’s center beats remembering where the spike was.
And a few signals that mean re-scan rather than trust: a flat signal everywhere (bad calibration or an empty stud bay), a spike that doesn’t repeat at a different height (stray nail), a “stud” exactly behind an outlet (that’s wiring), or spikes 4–6 inches apart (that’s the fastener pattern along one stud, not two studs).
How to verify the app is working before you drill
The clean workflow that takes any single reading from “promising” to “trustworthy”:
- Calibrate well away from the wall. A second of stillness in open air gives the app a baseline.
- Sweep at chest height. Slow, flat, about 2 inches per second. Mark every sharp spike with a pencil.
- Sweep again 30 cm higher or lower. A real stud spikes at the same horizontal position on both passes.
- Tap test the marked stud. It sounds noticeably duller than the cavity to either side.
- Drill a 1/16-inch pilot. Wood within the first quarter inch of wall material confirms the stud. Empty cavity means re-scan.
The two-sweep step is the entire reason apps are reliable. Any single reading can be wrong; two readings on the same vertical line basically can’t be.
For a step-by-step walkthrough, see our guide on how to use a stud finder app on iPhone.
Apps vs. hardware stud finders — what each one actually does
A magnetometer app and a $20 capacitive finder are measuring two different things:
- App (magnetometer): detects the metal fasteners. Tells you where the screws are.
- Hardware (capacitive): detects density change between cavity and stud. Tells you where the wall is denser.
Both end up pointing at the same stud, by two completely different signals. On a problem wall, getting them to agree is the strongest verification you can do without drilling.
For typical drywall on wood, an app is plenty. For heavy mounts, plaster, or unusual construction, use both.
So — do they work?
On the wall most homes have: yes. Within an inch, in under a minute, with a sensor that’s already in your pocket. On the walls they don’t work on, they fail honestly — the signal goes flat or floods, and you know to pick a different tool.
That’s the most you can ask of a free utility. And it’s enough for the vast majority of mounting jobs people actually do.
For picking between the apps out there, see the best stud finder app comparison. Or just try it: the free stud finder app for iPhone is on the App Store — one calibrated sweep on your own wall answers the question in 60 seconds.
Frequently asked questions
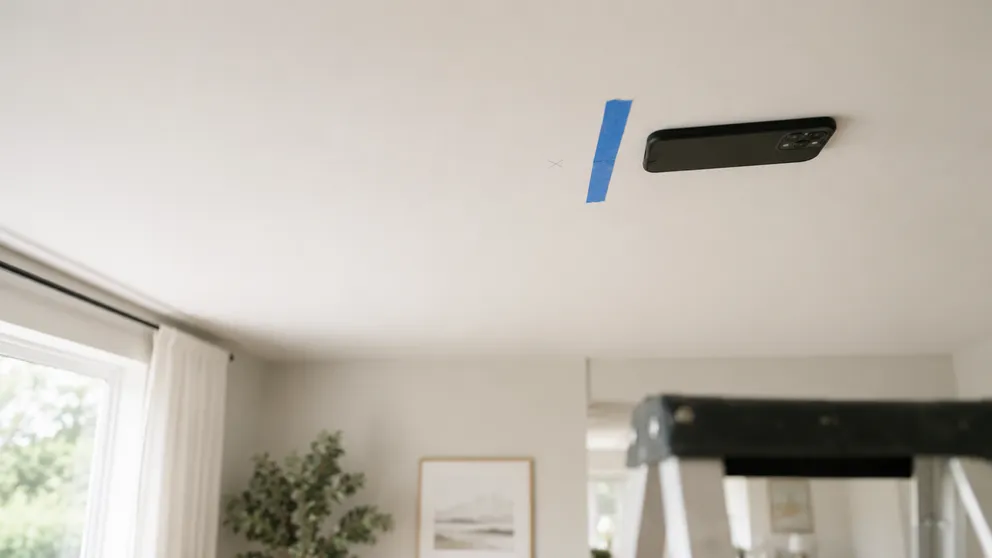
How to Find Ceiling Joists: 5 Ways That Actually Work
Find ceiling joists with a phone app, a magnet, or a tape measure. Joists run 16 or 24 inches on center — and a ceiling joist finder is already in your pocket.
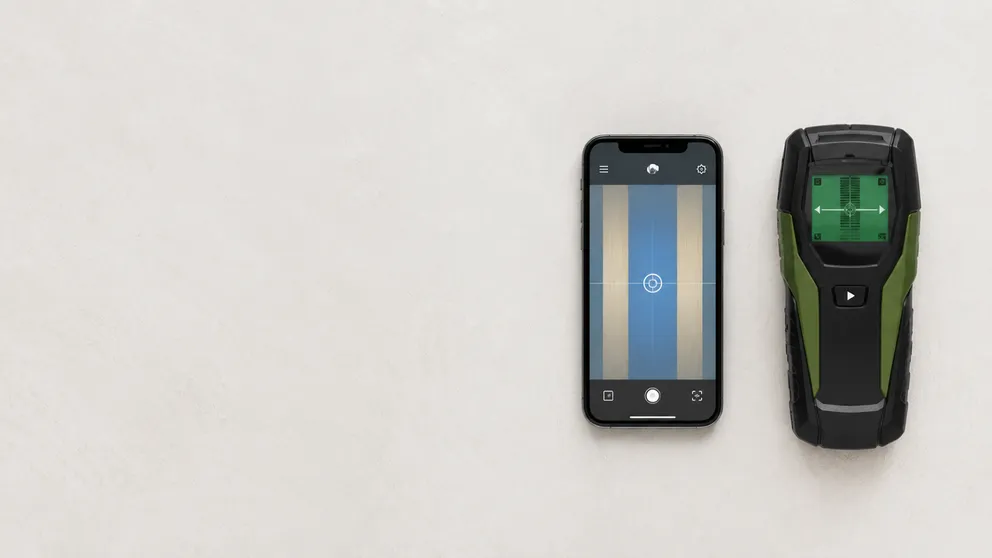
Stud Finder App vs Walabot: Which Do You Actually Need?
Stud finder app vs Walabot — one is free and lives on your phone, the other is a paid imaging device that sees pipes and wires. An honest comparison of what each finds, and which fits your job.
See behind the wall,
now in your pocket.
Stud Finder turns your phone into a precision wall scanner. Know where the studs, screws and pipes are before you drill.
Download the App