How to Find a Stud With Your iPhone (Without Buying Anything)
Your iPhone already has a stud finder inside it
Every iPhone since the iPhone 5 ships with a three-axis magnetometer — a tiny chip that measures the strength and direction of magnetic fields around the phone. Apple uses it for the Compass app, for Maps orientation, and for AR. The same chip can detect the metal nails and screws holding drywall to a wooden stud.
That’s the entire trick. A wood stud isn’t magnetic, but the fasteners are. Find a fastener, you’ve found the centerline of a stud. Find two fasteners spaced 16 inches apart vertically, and you’ve confirmed it.
You don’t need new hardware. You don’t need to buy a $40 hardware stud finder. The sensor is already in your pocket.
The physics, in one paragraph
The magnetometer measures the local magnetic field in microteslas. Earth’s background field sits at roughly 25–65 µT depending on latitude. When a ferrous object (iron, steel, a drywall screw) is nearby, it locally distorts that field. Sweep the phone past a screw and the reading spikes — usually by a few µT, sometimes more. That spike is the signal. Everything else is just visualization.
Method 1: Find a stud with the iPhone Compass app (no install)
You can technically use the built-in Compass app as a crude stud finder. Here’s how:
- Open Compass (pre-installed on every iPhone).
- Hold the phone flat against the wall, screen facing you, in landscape orientation.
- Start at one corner of the wall and slide the phone horizontally, keeping it flush against the surface.
- Watch the heading needle. When you pass over a stud’s fasteners, the heading will jitter or jump several degrees — that’s the magnetic disturbance from the screws.
- Mark the spot with painter’s tape. Sweep again from the other direction to confirm.
Why this is rough: the Compass app smooths and stabilizes its heading reading for navigation, which suppresses exactly the kind of fast jitter a stud finder needs to surface. You’ll find studs, but only the strong signals — small finishing nails or deeply set screws may not register at all.
It also requires interpreting needle behavior as field strength, which most people aren’t trained to do.
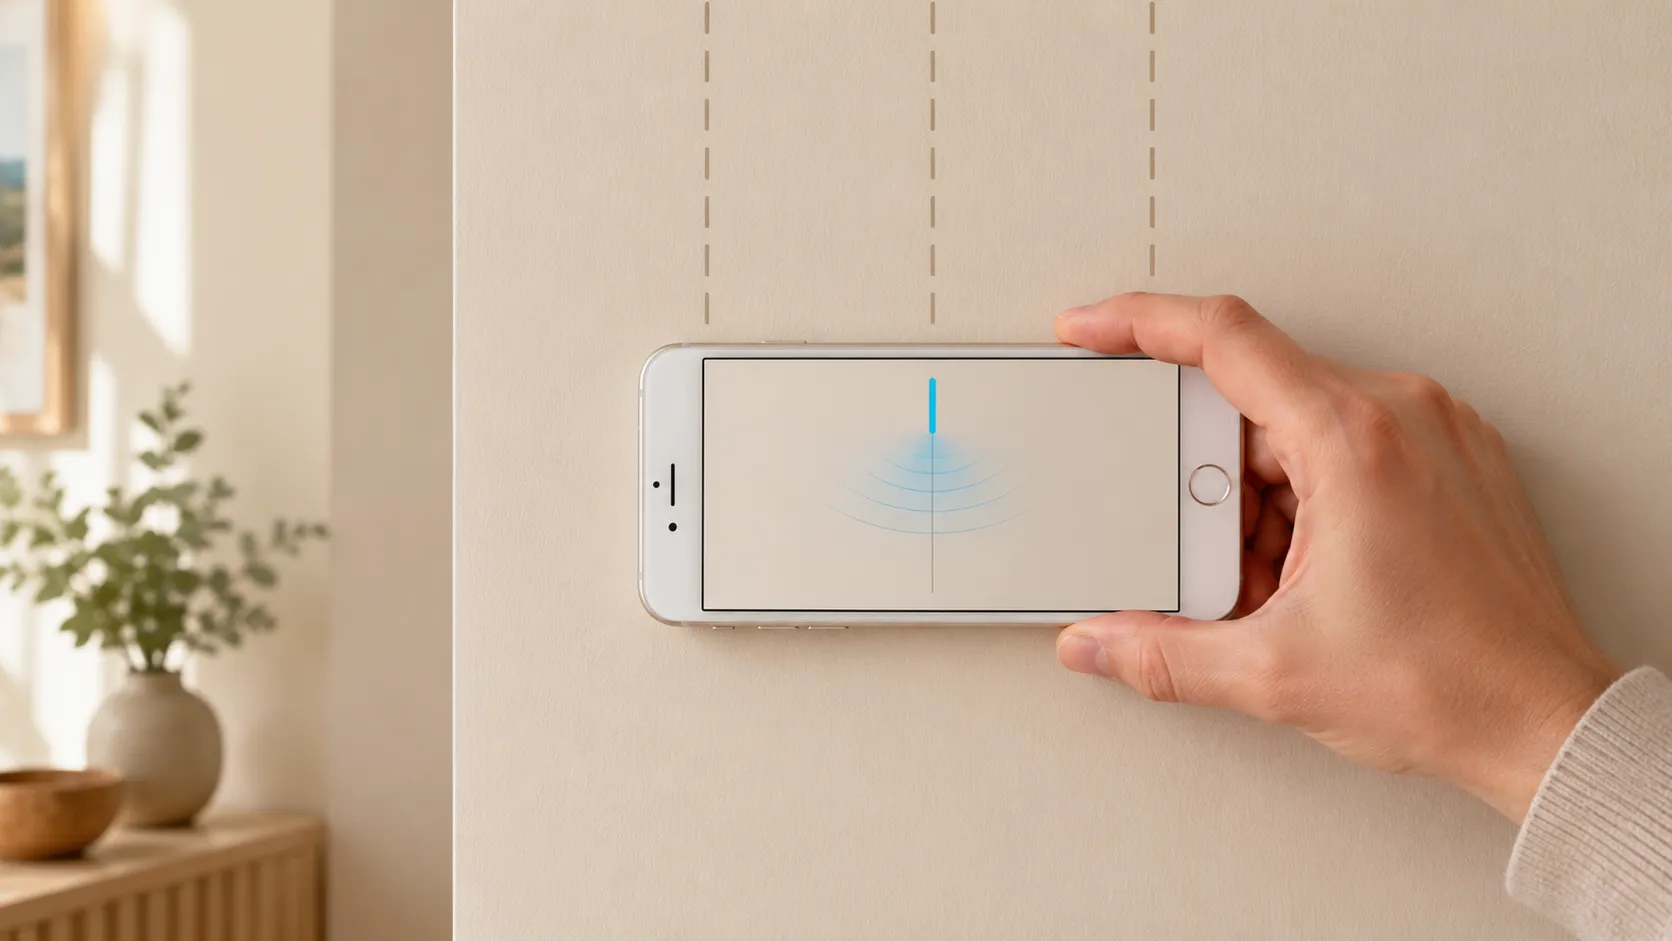
Method 2: Use a stud finder app (free, same sensor, better visualization)
A stud finder app reads the raw magnetometer value directly via Apple’s Core Motion framework — bypassing all the smoothing the Compass app applies. The data is the same; the rendering is dramatically clearer.
A good app turns the µT reading into one of two visualizations:
- A live signal bar that rises and falls as you sweep, peaking over a fastener.
- A numeric reading showing the current field strength, with calibration to the local baseline.
You see a clear spike, you mark the spot, you move on. No interpretation, no needle jitter, no guessing.
For a free-to-try, ad-free option that does exactly this, see the stud finder app. It’s the same sensor your Compass uses, plotted in the way that actually makes sense for stud detection.
Step-by-step: finding a stud with your iPhone
Whether you use the Compass method or a dedicated app, the technique is the same. Here’s the exact sequence:
1. Calibrate
Hold your iPhone away from any metal — at least 3 feet from radiators, outlets, your watch, or the wall itself. Open the app (or Compass). Wait 5 seconds for the magnetometer to settle on the local baseline. This is your “no metal” reference.
2. Choose your start point
Pick a wall section roughly 16 inches from a corner, outlet, or door frame. Builders almost always place a stud against the corner and then 16 inches on center. Outlets are mounted to studs, so a stud sits directly next to every outlet — usually on the right side.
3. Sweep horizontally
Hold the phone in landscape, flat against the wall, screen up. Slide it slowly — about one inch per second — in a straight horizontal line. Don’t tilt, don’t lift. Tilting changes the magnetometer’s orientation relative to Earth’s field and adds noise.
4. Watch for the spike
You’re looking for a clear rise in the signal followed by a fall. The peak of the rise is the centerline of the stud. In a clean app, this is obvious — the bar jumps, then drops back. In the Compass, the heading number jitters by 5–15 degrees.
5. Mark and verify
Stick a piece of painter’s tape at the peak. Then sweep again from the opposite direction. The spike should land at the same spot. If it does, you’ve found a stud. If it doesn’t, you found a magnetic anomaly — a pipe, a stray screw, an outlet box — not a stud.
6. Confirm with a second fastener
Move the phone up or down 12–16 inches and sweep horizontally at that height. A real stud has fasteners every 12–16 inches along its length. If you find a second spike on the same vertical line, the stud is confirmed.
What if your iPhone doesn’t find a stud?
A few common reasons the signal doesn’t appear:
- The phone case is too thick or has a magnet. MagSafe cases and folio cases with magnetic closures fight your sensor. Take the case off.
- You’re sweeping too fast. The magnetometer samples at roughly 100 Hz, but smoothing and rendering take time. Slow down to one inch per second.
- You’re holding the phone in portrait. Landscape works better because the sensor axis aligns more reliably with your sweep direction.
- The wall is metal-framed. Metal studs make the whole wall read magnetic, so there’s no spike to find. See do stud finder apps work for the physics on this.
- The wall is plaster over wood lath. Lath nails are everywhere, flooding the signal. A magnetometer can’t separate them.
For everything that does and doesn’t work, the full breakdown is in do stud finder apps work — and how accurate are they.
Why this works when “hammer and nail” guessing doesn’t
The old-school method of finding a stud is to tap the wall and listen for a duller thunk, or to drive a finishing nail and hope. Both leave damage. Both are roughly 50% accurate.
The iPhone method uses a real sensor reading a real signal — a measurable magnetic distortion caused by real fasteners. You’re not guessing; you’re measuring. The hole-free, no-tools, in-your-pocket nature of it is almost incidental. The point is that it’s actually detecting something physical, not approximating.
For the technical breakdown of how iPhone stud finders read the sensor, see how the iPhone stud finder works.
When to switch to a hardware finder
The iPhone method is great for 90% of stud-hunting tasks: hanging a TV, mounting a shelf, putting up a picture rail. There are a few cases where a hardware capacitive finder is genuinely better:
- Locating the edges of a stud (not just the centerline). Capacitive finders detect density changes across the full width of a stud; magnetometers only spike at fasteners.
- Finding studs with no fasteners visible in the sweep area. If you’re between fasteners by more than a foot, the magnetic signal can be weak.
- Working with deep plaster or thick tile. The signal attenuates with distance from the wall surface.
For everything else — standard drywall, normal residential framing — your iPhone is enough.
Try it now
You already have the sensor. The only thing standing between you and a found stud is the visualization. Open Compass and try the rough version, or grab the free stud finder app for the clean signal.
No drilling, no guessing, no $40 hardware purchase. Just a sweep and a spike.
Frequently asked questions
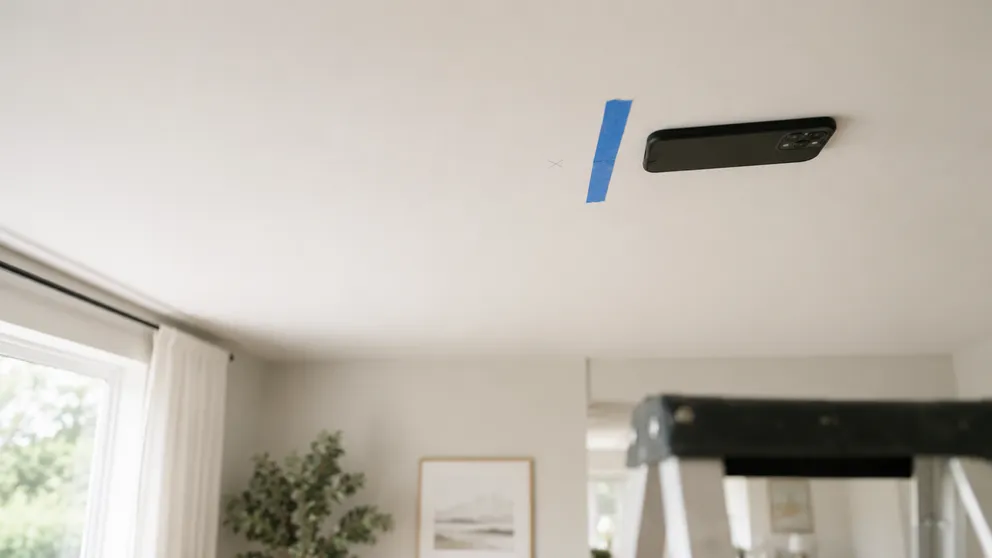
How to Find Ceiling Joists: 5 Ways That Actually Work
Find ceiling joists with a phone app, a magnet, or a tape measure. Joists run 16 or 24 inches on center — and a ceiling joist finder is already in your pocket.
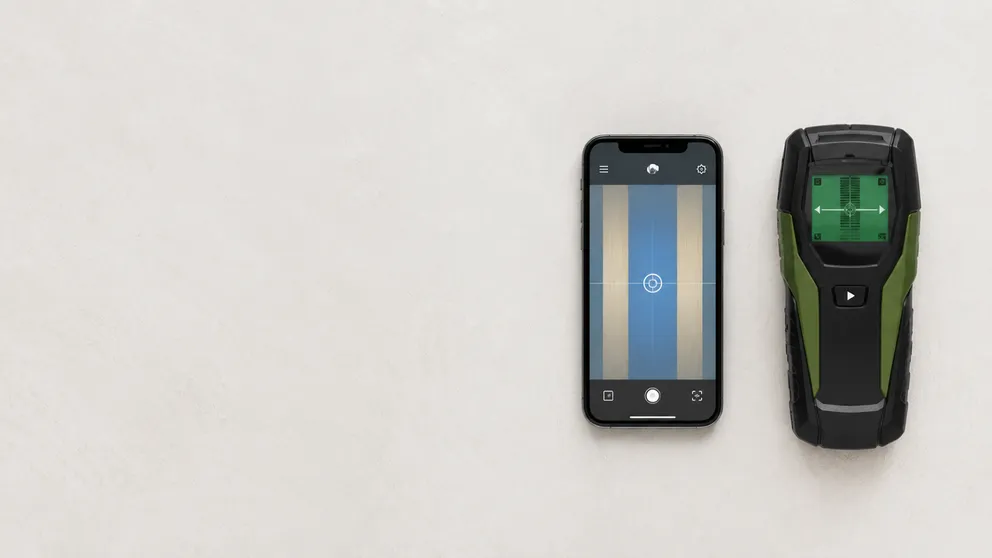
Stud Finder App vs Walabot: Which Do You Actually Need?
Stud finder app vs Walabot — one is free and lives on your phone, the other is a paid imaging device that sees pipes and wires. An honest comparison of what each finds, and which fits your job.
See behind the wall,
now in your pocket.
Stud Finder turns your phone into a precision wall scanner. Know where the studs, screws and pipes are before you drill.
Download the App