
How to Use a Stud Finder: Electronic, Magnetic & App
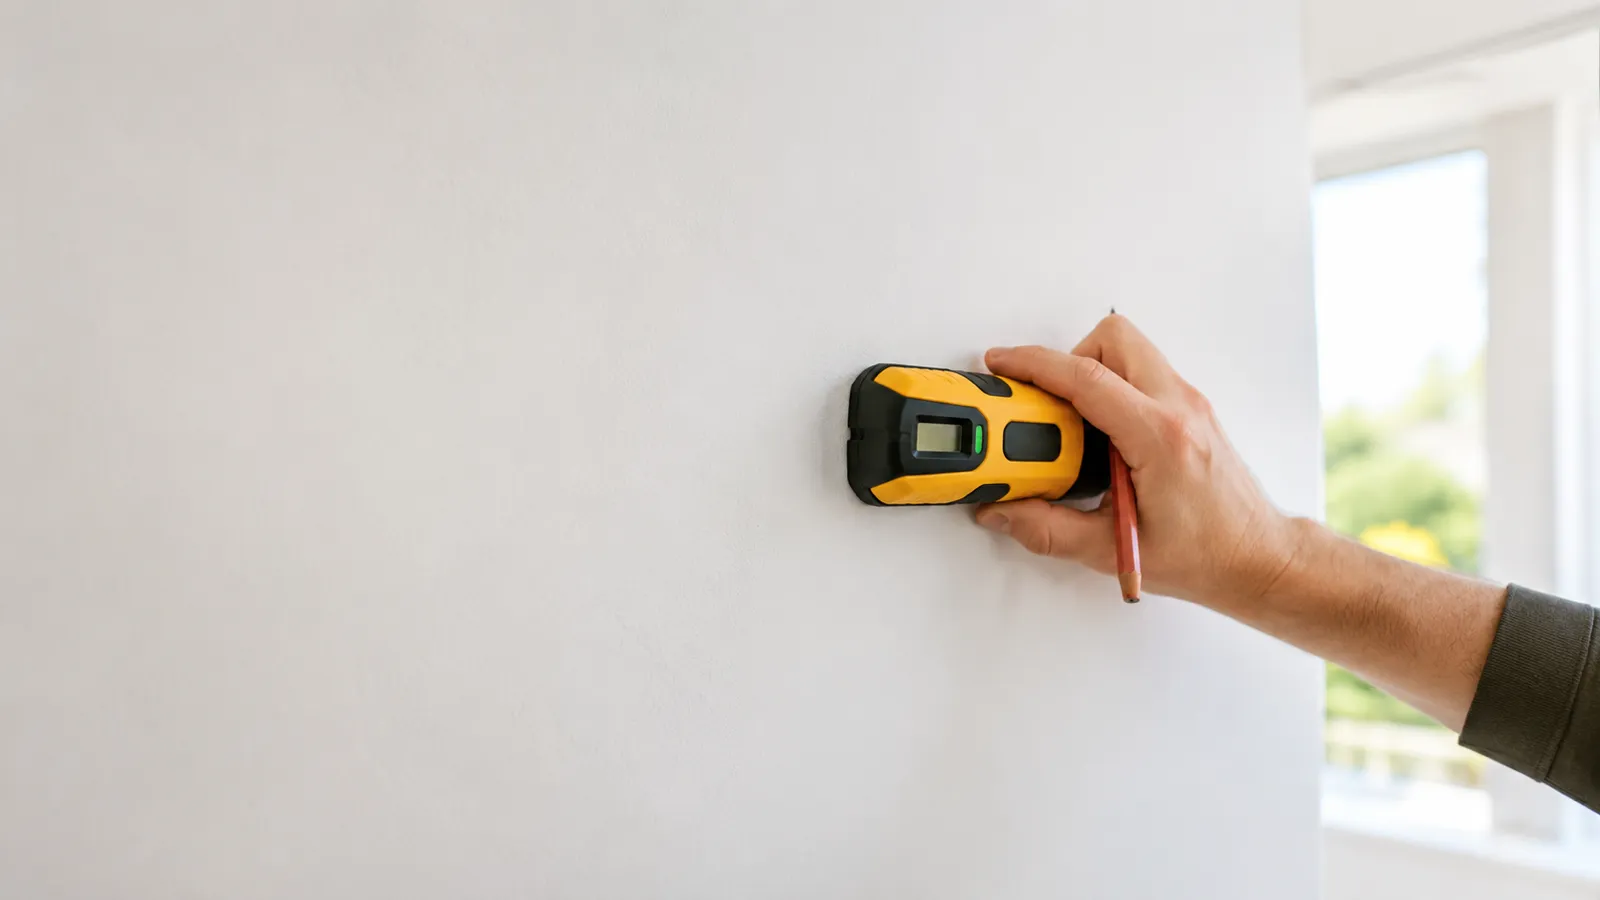
How to use a stud finder, step by step
The universal method works for almost any finder you pick up:
- Start over a cavity, not a stud. Pick a spot you’re confident is hollow. Electronic finders calibrate to wherever they begin, so starting on a stud makes them treat it as blank wall.
- Calibrate. Press the tool flat against the wall and hold the button until it signals ready (a beep, a light, or a steady display).
- Sweep slowly and sideways. Move horizontally — studs are vertical, so you cross them going left-right — at about an inch per second.
- Mark the first edge. When it signals, pencil a line. That’s one side of the stud.
- Find the far edge. Keep going the same direction until it signals again, then back off. Mark it. The stud center is halfway between your two marks.
- Verify before you drill. Tap the wall (dull over a stud, hollow beside it) and drill a 1/16″ pilot to confirm wood.
That sequence — calibrate, sweep, mark both edges, verify — is the whole skill. Everything below is how it changes per tool type.
How to use an electronic (capacitive) stud finder
An electronic finder reads the density change between the hollow cavity and the solid stud. Hold it flat, calibrate over a gap, and sweep. Cheaper models flag only the edges, so you mark both and split the difference for center. Multi-sensor models light up across the whole stud at once, so you see edges and center in a single pass with no calibration step at all. Keep the unit flat to the wall the entire sweep — tilting throws the reading.
How to use a magnetic stud finder
A magnetic finder has no battery and no calibration — it simply pulls toward the steel screws and nails in the wall. Hold it lightly and drift it across the surface in a slow S-pattern. When it grabs, you’ve found a fastener, and the stud is directly behind it. It’s slower than electronic finders because you’re hunting individual screws rather than reading the whole stud, but it never needs power and never gives a false density reading. Confirm a second fastener higher or lower on the same vertical line to be sure you’re on a stud and not a stray screw.
How to use a stud finder app on your phone
A phone app works like a magnetic finder with a screen. It reads the magnetometer — the compass sensor — and shows a spike when you pass a fastener. Calibrate in open air away from the wall, pull off any magnetic case, hold the phone flat, and sweep slowly. The app does the same job as a magnetic finder, but shows you the signal instead of relying on feel. For the detailed version, see how to use a stud finder app, and for no-tool backups, how to find studs without a stud finder.
Why a stud finder isn’t finding studs
If the tool keeps missing, it’s almost always one of these:
- Calibrated over a stud. The most common mistake — restart over a hollow spot.
- Moving too fast. Slow to about an inch per second so it can register the change.
- Dead or weak battery. Electronic finders get erratic before they die outright.
- Wrong wall type. Plaster, metal studs, and tile defeat most consumer finders. That’s the wall, not your technique.
- Tilting the tool. Keep it flat to the surface through the entire sweep.
The bottom line
Using a stud finder well comes down to one rhythm: start on a cavity, calibrate, sweep slow, mark both edges, and verify before the drill goes in. Electronic finders read density, magnetic finders and apps read fasteners, but the discipline is identical. Master that, and a $15 tool — or the free app on your phone — finds studs as reliably as anything on the shelf.
Want the version that’s always in your pocket? Try the stud finder app — free, ad-free, no signup to start.
Frequently asked questions
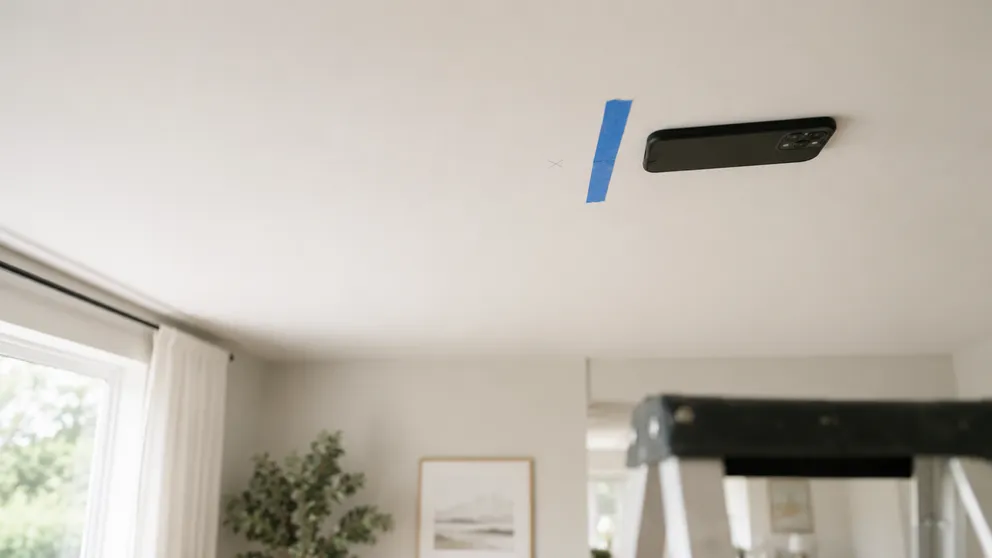
How to Find Ceiling Joists: 5 Ways That Actually Work
Find ceiling joists with a phone app, a magnet, or a tape measure. Joists run 16 or 24 inches on center — and a ceiling joist finder is already in your pocket.
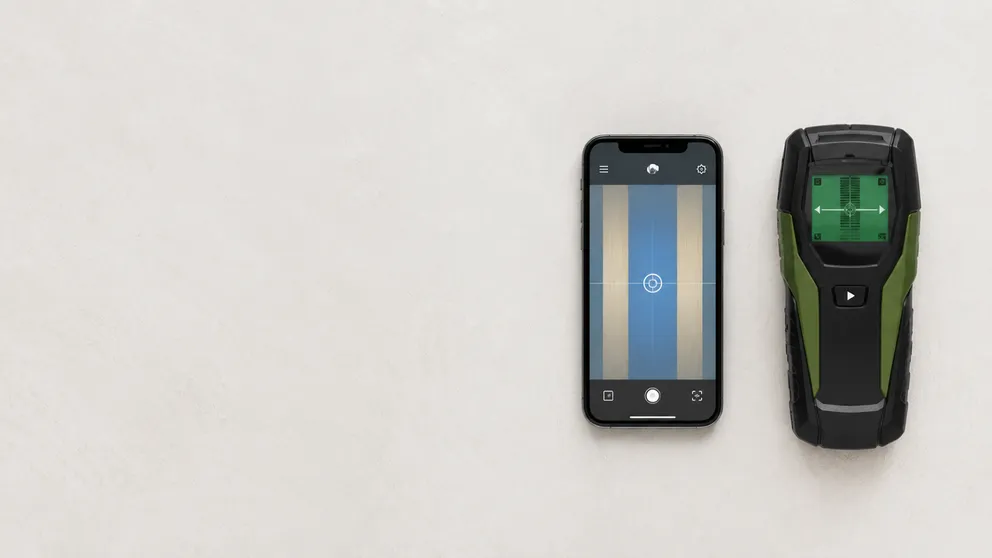
Stud Finder App vs Walabot: Which Do You Actually Need?
Stud finder app vs Walabot — one is free and lives on your phone, the other is a paid imaging device that sees pipes and wires. An honest comparison of what each finds, and which fits your job.
See behind the wall,
now in your pocket.
Stud Finder turns your phone into a precision wall scanner. Know where the studs, screws and pipes are before you drill.
Download the App