How to Use a Stud Finder App on iPhone (Step by Step)
The 6-step workflow that finds studs every time
A stud finder app doesn’t need a manual; it needs a routine. Here’s the routine that works on every drywall wall in a typical home:
- Calibrate away from the wall
- Sweep horizontally at chest height — slow and flat
- Mark each sharp spike on the wall
- Sweep again at a different height to confirm
- Tap test before you drill
- Verify with a 1/16-inch pilot
Each step takes about 10 seconds. The whole thing is under a minute per stud once you’ve done it twice.
Step 1 — Calibrate well away from the wall
Hold the phone in your hand at least half a meter from the wall, away from any metal — not over a desk, not near a radiator, not next to your laptop. The app needs a clean baseline reading of the ambient magnetic field so it can identify the spikes you’ll see later. Earth’s ambient magnetic field is about 25–65 microteslas (μT) depending on location (NOAA World Magnetic Model) — calibration teaches the app what your local baseline looks like before it tries to detect spikes above it.
Most apps prompt for this calibration on launch. If yours doesn’t, just stand still for a few seconds before approaching the wall. Skipping calibration is the most common reason readings are noisy.
If you’re using a phone case with a magnetic ring (MagSafe wallets, ring grips), take it off. The case magnet sits a few millimeters from the phone’s magnetometer and will saturate the sensor.
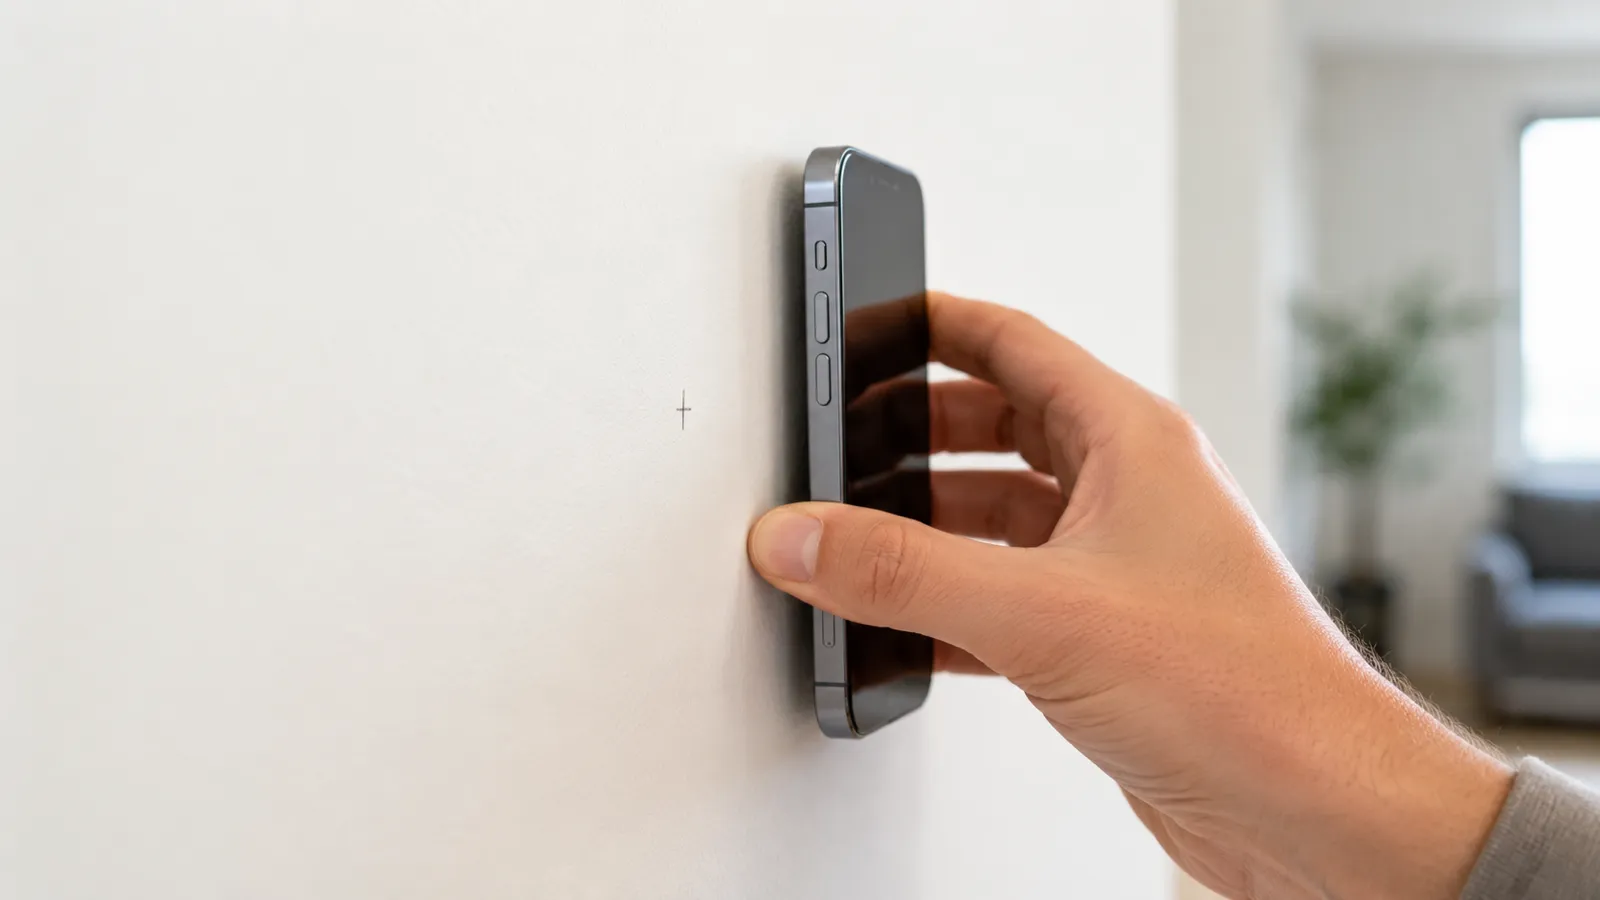
Step 2 — Slow, flat horizontal sweep at chest height
Place the phone flat on the wall, screen facing you, then move sideways slowly and steadily. Aim for about 2 inches per second — slower than you’d think, but iPhone’s magnetometer samples at up to 100 Hz via Core Motion’s CMMagnetometerData, which is far faster than your hand can move past a fastener.
Keep the phone flush. Tilting it changes the orientation of the magnetometer relative to the fastener, which shifts the apparent spike position by half an inch or more. If your wall is textured, that’s fine — magnetic readings don’t care about surface texture, only about the metal underneath.
Watch the live signal. You’re looking for sharp, narrow peaks. Small wobbles are normal — those are background noise. A real fastener spike is unmistakable: a clean, fast jump and a clean fall as you pass it.
Step 3 — Read the spikes, not the noise
When you see a clear spike, stop. Pull the phone back an inch, then move past the same spot again, slowly. The spike should appear in the same place each time.
Now mark the wall. Use a pencil — painter’s tape if you don’t want pencil on the wall. Mark the position of the phone’s center, not the edge. Stud finder apps report the position of the magnetic peak under the magnetometer chip, which is roughly in the middle of the iPhone.
You’ll see plenty of “spikes” that are not studs:
- A single bright spike with no neighbors → probably a single nail (picture hanger, errant fastener)
- A broad bump rather than a sharp peak → probably an electrical box or HVAC duct edge
- A sustained high reading across a wide area → probably a metal stud, ductwork, or a large appliance the other side of the wall
A real stud’s fasteners are always two or more in a vertical line — drywall is anchored to studs every 16 inches on center per IRC §R602.3.1, with multiple fasteners up the height of each stud. Which is why step 4 exists.
Step 4 — Sweep again at a different height
Move the phone up or down by about 30 cm (a foot) and run the same horizontal sweep across your marked spots.
A stud will give you another spike at one of the same horizontal positions. Stray nails, picture hangers, and electrical fittings won’t — they’re isolated. This second pass is the entire reason stud finder apps work as well as they do: they don’t need to know what the stud looks like, they just need to see the fastener pattern.
If a spike repeats, that’s a stud. If it doesn’t, ignore the first reading and move on.
Step 5 — Tap test before you drill
Before any pilot hole, knock with your knuckle directly on the marked stud, then immediately to the left and right of it. The stud sounds noticeably duller — a low thud rather than a hollow knock.
This costs nothing and catches most app errors. If the wall sounds the same on the mark as it does to the side, your reading was probably wrong. Re-scan.
Step 6 — Verify with a 1/16” pilot
The final check, before you drive the actual screw or lag bolt:
- Drill a tiny pilot — 1/16” bit — straight at your stud mark.
- If you hit wood within the first quarter inch of wall material, you’re on a stud.
- If the bit slides past the wall material into empty cavity, the app and tap test were both wrong. Re-scan.
A 1/16” pilot is barely visible and patches with a dab of spackle if you miss. It’s the cheapest insurance in DIY.
Mistakes to avoid
A few things people do that wreck the reading:
- Phone case still on with a magnet. Take it off. Always.
- Sweeping too fast. The magnetometer samples plenty fast, but your eyes can’t process the live graph at speed-walking pace.
- Calibrating against a wall. Calibration must happen in free space. The wall itself contributes signal.
- Trusting one pass. Always confirm at a second height. One pass is a hypothesis; two passes is a stud.
- Scanning over an electrical outlet or light switch. Wiring runs near these and corrupts the field for several inches in every direction.
Once you trust the reading, mounting is easy
Once you’ve found two studs in a wall, the rest of mounting is mechanical: lag the bracket directly into the marked centers, level, and tighten. The hard part of any wall mount is finding the studs you can trust. The workflow above gives you that.
If you haven’t installed the app yet, grab the stud finder app here. It’s free to try, ad-free, no signup to start. For walls that don’t fit the typical drywall pattern, our wall stud finder app guide covers what to do.
Frequently asked questions
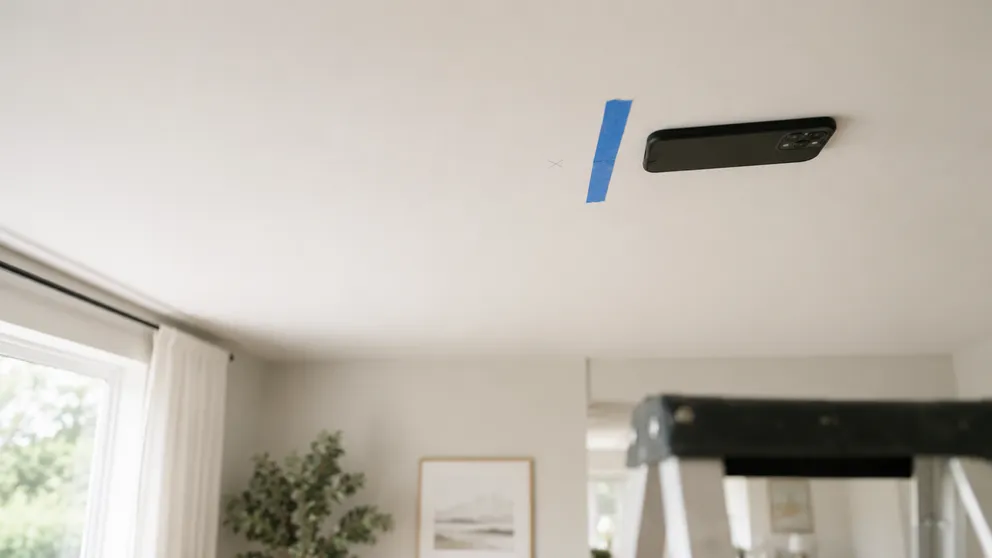
How to Find Ceiling Joists: 5 Ways That Actually Work
Find ceiling joists with a phone app, a magnet, or a tape measure. Joists run 16 or 24 inches on center — and a ceiling joist finder is already in your pocket.
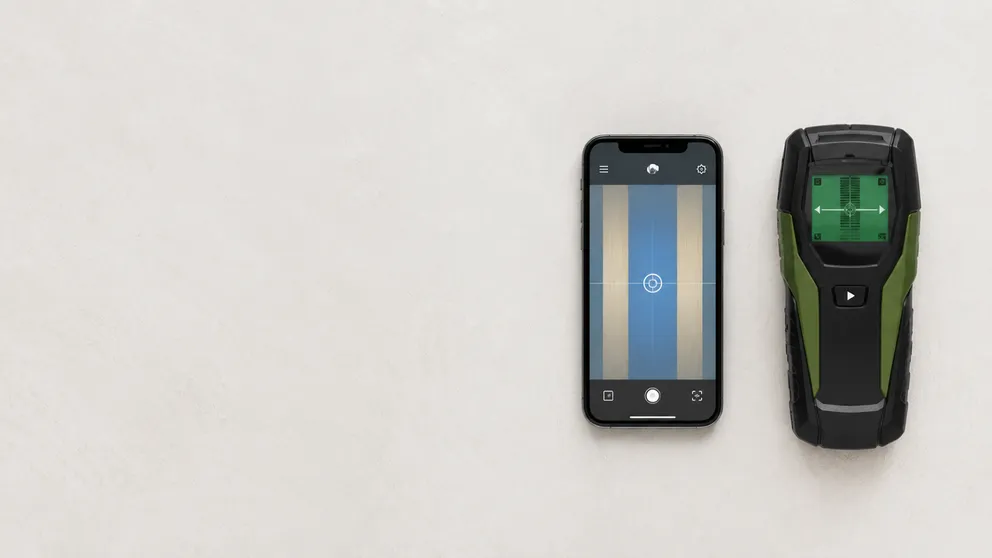
Stud Finder App vs Walabot: Which Do You Actually Need?
Stud finder app vs Walabot — one is free and lives on your phone, the other is a paid imaging device that sees pipes and wires. An honest comparison of what each finds, and which fits your job.
See behind the wall,
now in your pocket.
Stud Finder turns your phone into a precision wall scanner. Know where the studs, screws and pipes are before you drill.
Download the App